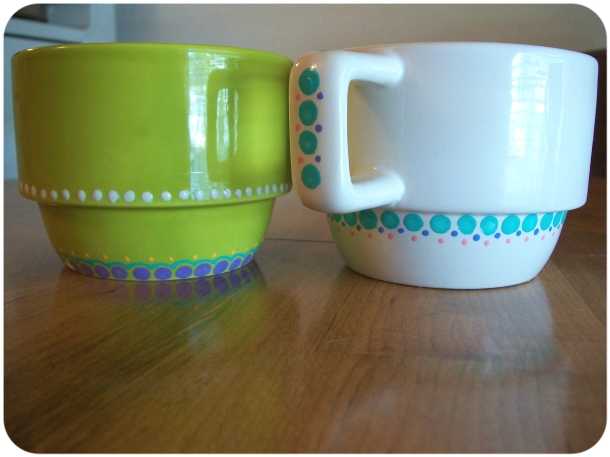
DIY Sharpie Mug 2.0 | Christmas Gifts 2014

Posted on

Title

It’s hard to believe that my blog post about my experience with the sharpie mug craze is over two years old now and has gained an insane amount of popularity. I still to this day get hundreds of views from that post and see comments from fellow crafters looking for advice on their creations. I am, of course, no expert on the topic, but I did want my first post to be a sort of “did it work or not” post for others to use as a reference, and I’m happy to say that it has done just that.

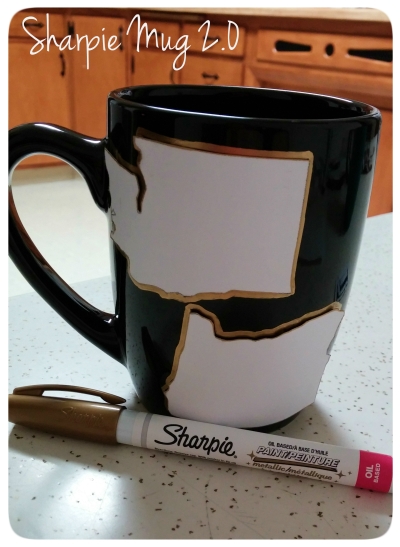
Thanks to all of that, this year when I decided to give a sharpie mug as a gift, I thought I would document the process. I was especially excited because I had to get creative after being unable to find a good white coffee mug, and chose to use a black one with a metallic Sharpie oil-based paint pen instead. This has surely been done by others, but I have never seen it myself, and after so many of my readers mentioned troubles with colored pens and the like, I was curious about how this would work out!

123

456

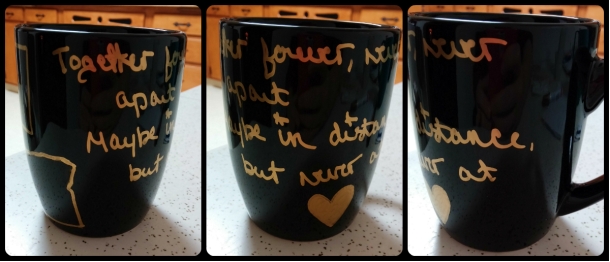
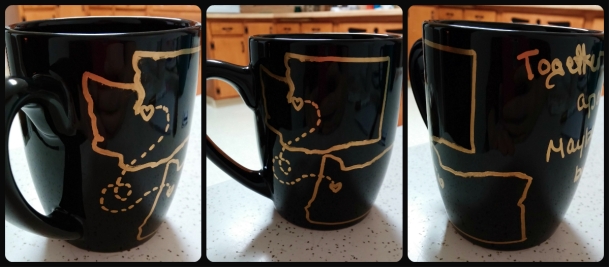
My best friend and I are currently living in different states and I have always loved the state art that shows two places being connected by a dashed line. I also really liked the quote “together forever, never apart, maybe in distance but never at heart.” So, I found some state stencils online and printed out a few different sizes on heavyweight cardstock, chose the one that worked best, and used double sided tape to stick it to my mug. I then traced around the states and removed the stencils – easy as that! There was some bleeding of the paint under the stencils, as you can see in the pictures, so I used a Q-tip dipped in alcohol (a great trick suggested by a reader!) to clean up the edges. Then I freehanded the line, the hearts, and the quote.

I let it sit overnight before sticking it in the oven. I placed it in the cold oven, turned it up to 350 degrees F, and timed it for 30 minutes. Then I let it cool in the oven overnight.

I really like the way it turned out After letting it sit for a few days after it was done, I tried to scratch at the Sharpie, and it seemed pretty solid. I should also point out that I had no discoloration or fading after baking my mug. I placed the states and the quote quite close to the lip of the mug because I intended this mug to be for decoration only, perhaps on a desk to hold pens (my friend is a teacher), and I made sure to let her know when I gave it to her.

While we’re on the subject of Christmas gifts I gave this year, my friends & I did all homemade gifts this year since I’m a poor college student and was trying to survive the holiday on the little that I had. The second gift I made this year was Instagram tile magnets, and they were so fun, so easy, and so inexpensive!
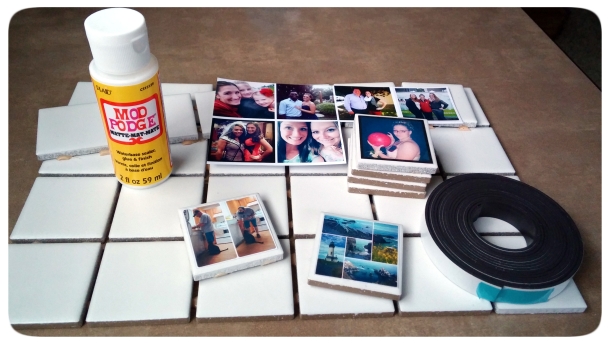
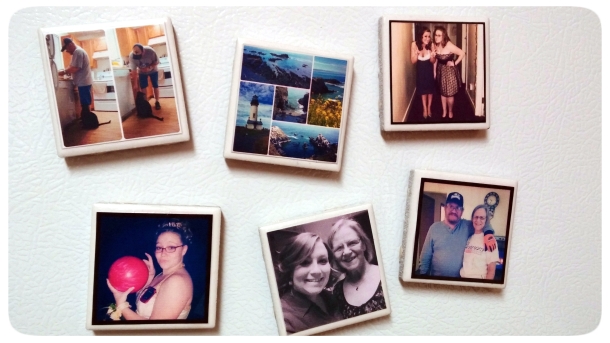
Insta SuppliesI decided to do this after coming across this blog post on Pinterest. I already had some Mod Podge and photo paper lying around that I had picked up from the Dollar Tree, so I ran out the next day and got the sheet of tiles (36 of them for around $2-$3) and the roll of magnet tape. I saved Instagram pictures from my friend’s profile (which is really tricky – the only way I found to do it was taking a screenshot and cropping) and used Word to create a sheet of them. I printed them at home on photo paper using my own printer, cut them out, and got to work. I used a flat watercolor paint brush to lay down some Mod Podge on the tile before carefully placing the paper and then painting on another layer of Mod Podge. Streaks and bubbles are no issue, since they generally disappear as the Mod Podge dries clear. After letting them dry for several days, I cut small pieces of magnet tape and stuck two pieces firmly on the back of each magnet.

InstaComplete

These six are the first ones I did using my own pictures because I wanted to test out the process, and I think they turned out so beautifully! After making six for myself and six to give to my friend as part of her Christmas gift, I have 24 tiles leftover – so I’m looking forward to making some more of these for my parents and other family members and friends!

Finally, I did some crocheting over break since crochet hooks are the only needlecraft tool I could bring home with me on the plane. I made a beanie as a gift for my friends fiance, because he wore the last one I made him until it fell entirely apart.

2014-12-20 19.20.07

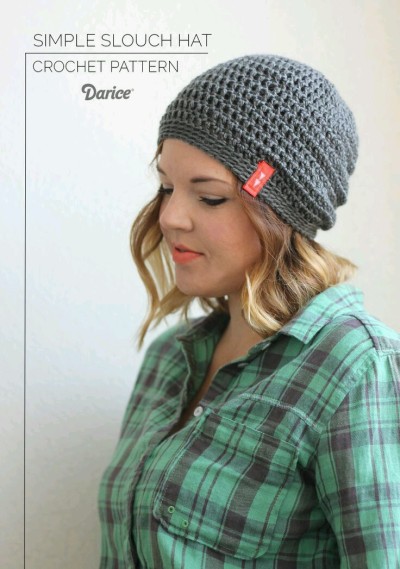
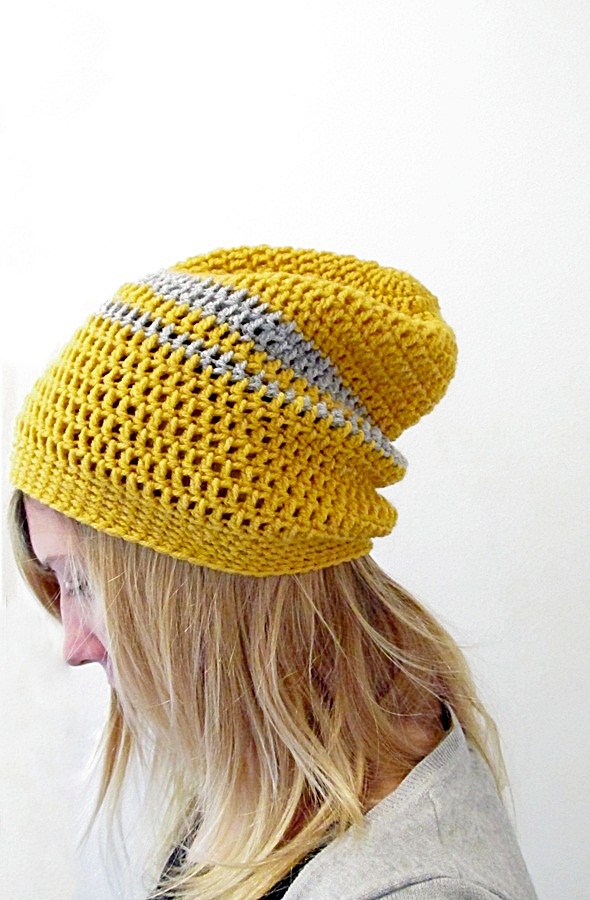
I used this pattern that I found – where else – on Pinterest. Clicking on the picture will also take you directly to the pattern. I was looking high and low for something that looked really nice but wasn’t too “girly”. This one fit the bill perfectly and was so easy to make. I used Red Heart Soft yarn, which is a new favorite of mine, and did it in a crimson color. I unfortunately didn’t take any pictures of that hat being made or completed, but I made another hat using the same pattern and got a few pictures of me working on that.
Yarn

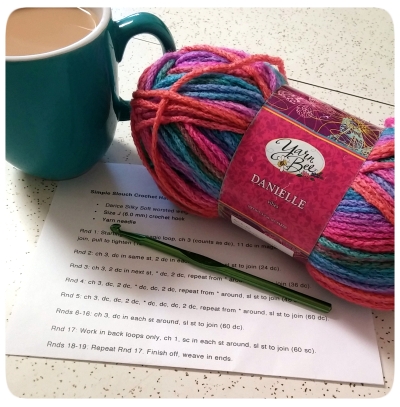
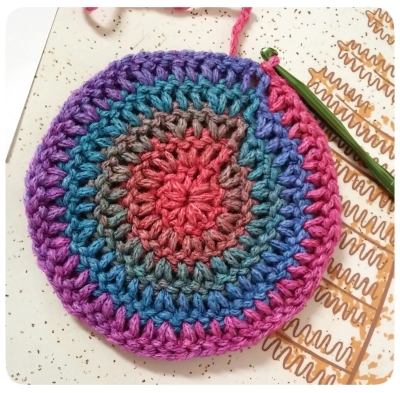
CircleI got this yarn from Hobby Lobby a few years back and really only purchased it because it was named “Danielle”. The yarn is SO pretty and made a gorgeous hat. I made it for myself, but ended up giving it away to my 17 year old neighbor on Christmas Eve because it looked like something she would be able to rock – and I was right, she looked so great in it!

I also made a couple of crochet headbands as the final touch for my best friends Christmas gift. I hadn’t intended initially to give her those because I have already given most of my friend crochet headbands as gifts, but right before the holidays I saw some pictures of her wearing the last headband I made her and it was clearly falling apart and needed to be replaced. Luckily, those are easy to whip up, and this time I made her two so she doesn’t have to wear one to death!

Hope you all enjoyed this post! I know they are getting farther and farther apart these days, but I unfortunately can’t craft or blog regularly while also being a full time grad student, so I just do it when I can, and I think that makes them more sincere and put together anyways. :] Thanks so much for reading and as always, happy crafting!
Making a Comeback

Posted on

Hi guys! Long time no post! I tried hard to focus solely on my studies & take a break from crafting, but I’ve come to realize I am just as passionate about this as I am about my career. Crafting is my outlet – I need it to survive. So I am determined to get back on the horse and spend some of my free time rejuvenating my blog and my Etsy.

This weekend, I spent some time thinking about how I wanted to go about doing this. First, I decided I will not be crafting unless it is going to serve a purpose. Graduate school has made me very conscious of time and time-constraints. I have very little time and a lot of constraints! If I’m going to successfully craft, particularly to sell, then I need to be crafting for the sole purpose of selling. I’m pro at making things for myself and then never wearing them – I have bins of cowls and headbands and hats that I thought I loved, but then never actually wore. What a waste! If I can’t enjoy my items, then I want to make things that other people will. I would much rather purchase something amazing that someone else has made than make something for myself – I think there’s an aspect of novelty and fun that way, something you don’t get when you’re going through the development process yourself. I’ve always failed at making things for myself, it’s just taken me an unusually long time to realize that.

Some things I’ve been working on this week:

The Bow Headband by NorthThirty-Fourth:

Blog_Bow_Headband_small2

The Turban Ear Warmer by This Ninja Creates:

6396_10151183494695698_1150956228_n_small2


And the Urban Slouchy Beanie by Little Things Blogged:

IMG_2102


I hope to have new stuff on my Etsy starting something this Spring, so be on the lookout!

Thanks for reading!


An Extended Vacation

Posted on

Hi guys! I know it’s been forever & I know I keep saying this will stop happening – but who am I kidding! I’m a student, & life is always insane!

I graduated from college in May & moved home to live with my parents for the summer. At home, I got a full time job & pretty much did that for 4 months, while packing & getting things ready for my big move 8 hours south for graduate school! Now, the time has come for me to make the big move, & unfortunately my MASSIVE craft collection can’t come with me.

My apartment in my new hometown is tiny. Like so small, it doesn’t even have a real closet or a full-sized fridge. That’s right, I’m going to have to survive with only a mini-fridge for a year. Yikes! Anyways, the lack of a closet or ANY storage for that matter makes it really difficult for me to take my bins & bins of yarn, embroidery thread, sewing machine, craft books, etc. with me. I can’t even begin to tell you how sad this makes me.

Ultimately, I hope to get a two bedroom apartment I can afford & keep the rest of my years in graduate school. That way, I’ll have a bedroom AND a craft room… & a living room & kitchen, which I’m not really used to having in separate places either!

I also feel the need to apologize for my lack of crafting & blog updating this summer. I’m not really sure what happened. For the first month of summer, I remember being so elated at being a college graduate. I sat in the sun & tried to tan [‘tried’ being the keyword], I read lots of books, I crocheted, & I bugged my dad to help me clear a space for my sewing machine. I was so gung ho about having 5 whole months off! Then I got a job, & all that went out the window. All I did after that was sleep, eat, shower, & work. & now, it’s suddenly September & I’m moving out of state in a few short days. HOW DID THIS HAPPEN?! Hell if I know.


One last thing – On August 5th I had almost 600 views on my blog! That’s super crazy for this blog, especially because I haven’t been updating it. Over 400 of the views were said to be brought here by Facebook, but my Facebook page hasn’t been getting much traffic lately so it couldn’t have been from there. Many of the views were only for my one post, the Sharpie Mug post, which isn’t all that uncommon, but typically if people are brought to the blog they look around a little & other pages [home & about] get some hits. I guess I was just kind of confused & wondered if this is a common thing. Was it some sort of spam? Could someone have linked to my page & I have no idea? Am I just worrying too much when I should just be enjoying my small spike in views for a day? I know. I can’t help it.


Thanks for reading guys. I’m taking my knitting needles & crochet hooks with me to graduate school, but no yarn. That means I have hope that some crafting may occur at some point this year. Otherwise, I’ll see you in a year, when I have a new apartment & ample space to frolic & craft in!

A SMASHing Update

Posted on

I’ve been meaning to do a post like this for awhile, since I’ve had my SMASH book for about 8 months now. I have to say, I’m not that great at updating it – but I’m getting better! It’s actually really hard to get used to picking up business cards or saving receipts, or other things that are normally inconsequential & trash-worthy. But I think I’ve succeeded at SMASHing most of the important things that have gone on this year.

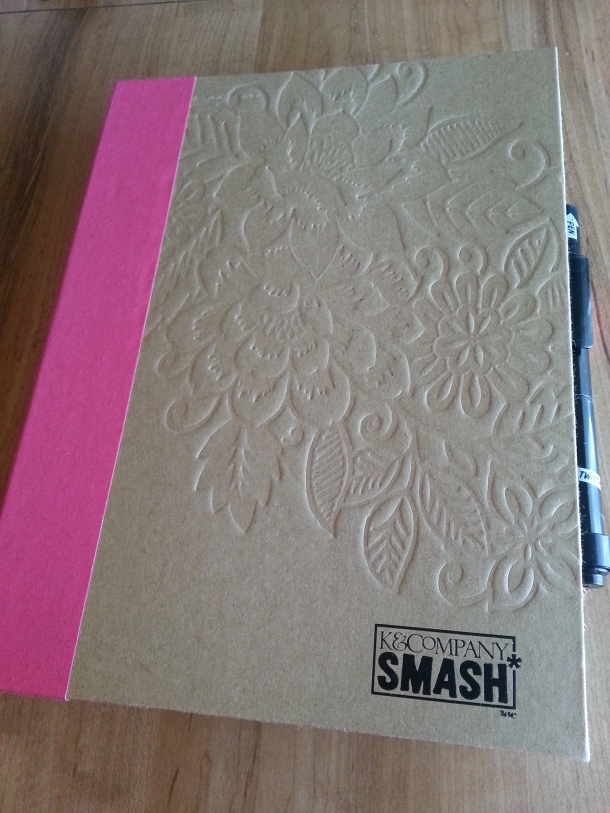
First off, this is what my SMASH book looks like:

1

2

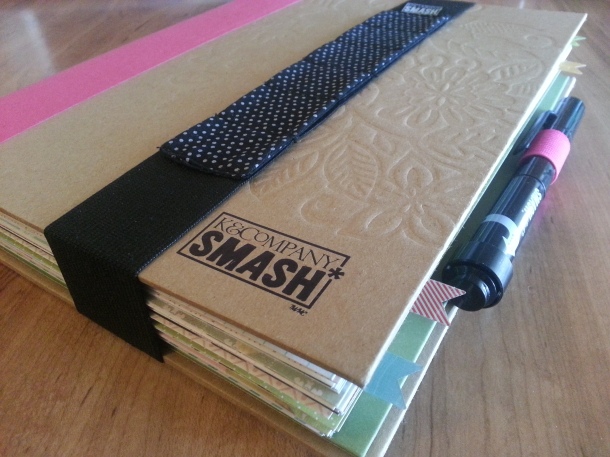
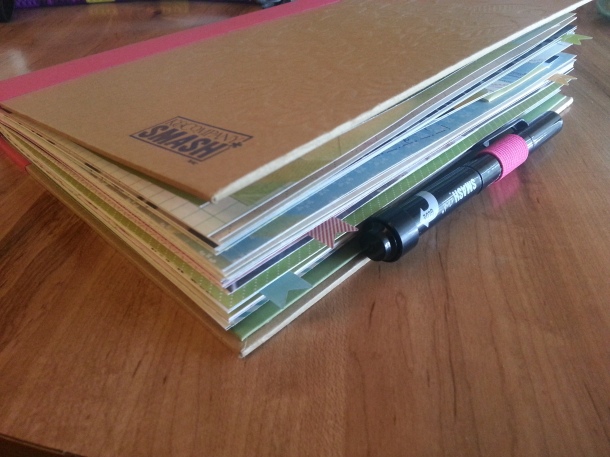
I had to get one those nifty bands to hold it all together, or else it would look like this:

3

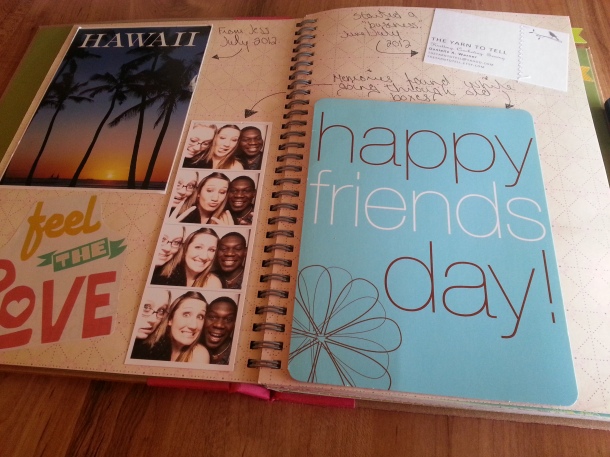
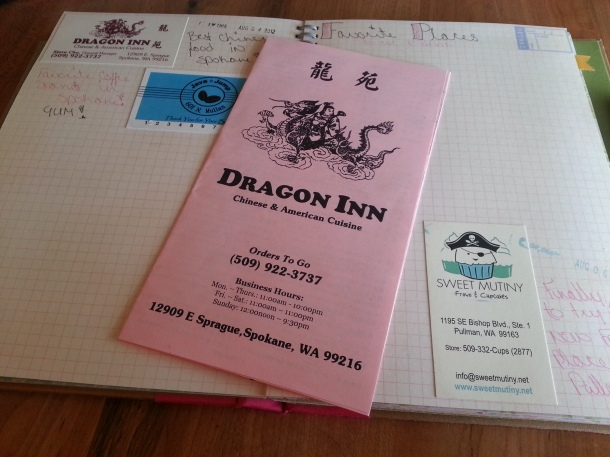
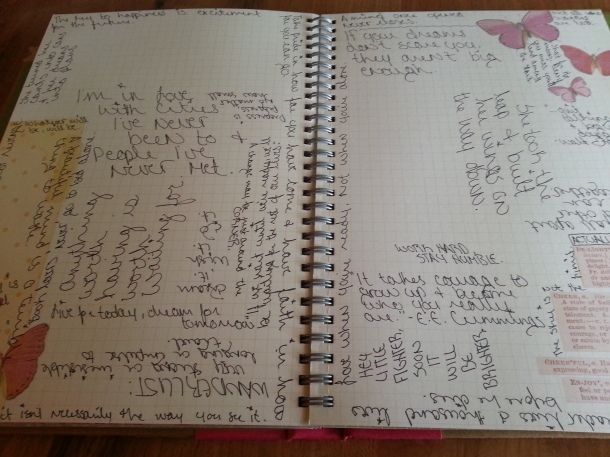
Some sample pages that don’t need any explanation:

4


7


10


8


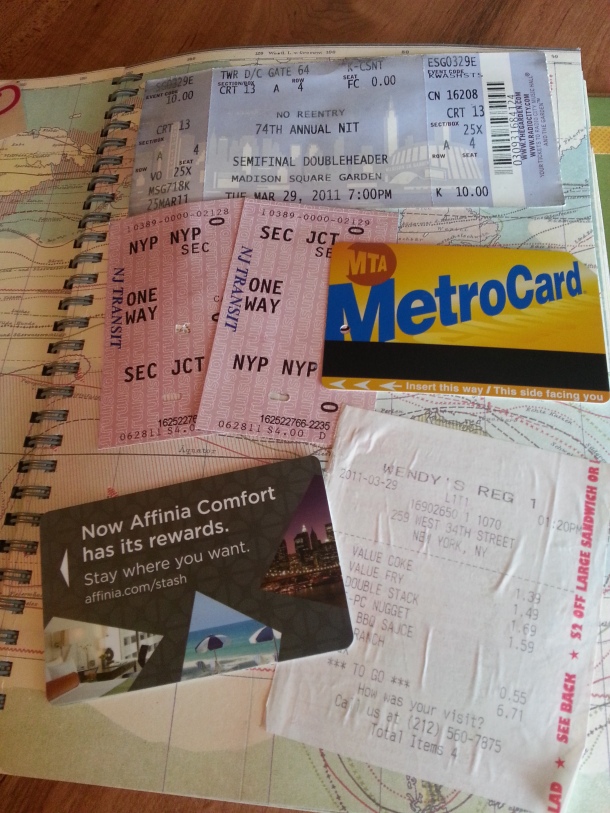
I didn’t actually go to New York this year, but when I got hooked on tiny crossbody bags, I had to downsize my wallet & found these things still in my old one from my two trips to NYC in 2011:

9


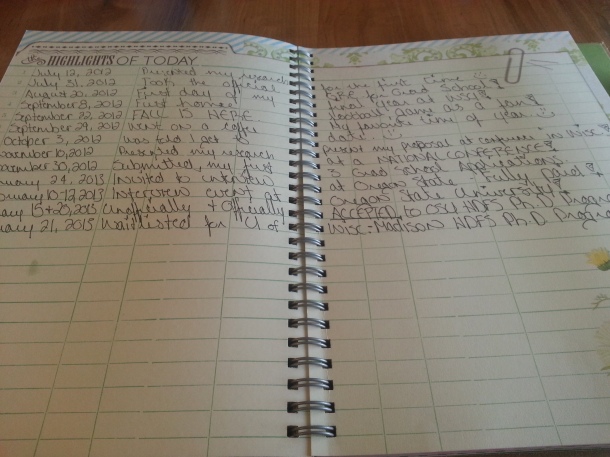
Things I’ve accomplished or experienced since starting my SMASH book:

5


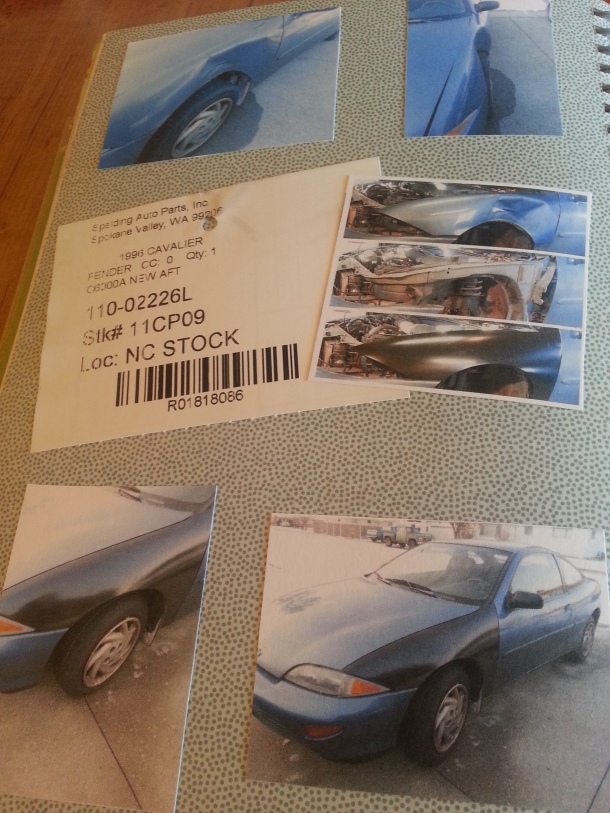
I had to document the only accident I’ve ever been in. Except this was a hit & run that happened while my car was parked on the street overnight, so I guess technically I’ve still never been in an accident [& I hope to keep it that way]!

6


So that’s what I’ve got so far in my SMASH book. I enjoy it, but every time I see someone else’s beautiful book I’m like ‘damn, I suck at this!’. Oh well – the point is to be “messy & beautiful” [which is perfect for me since I’m so bad at scrapbooking]!

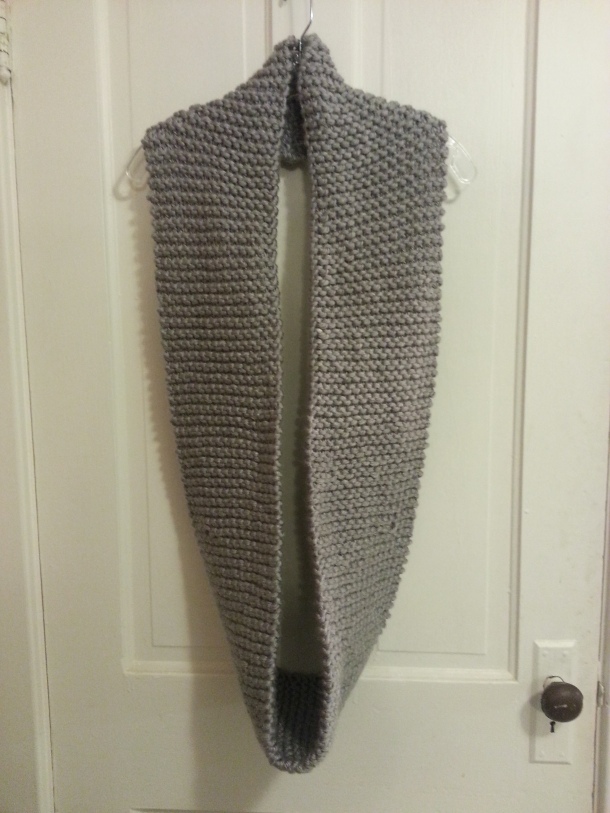
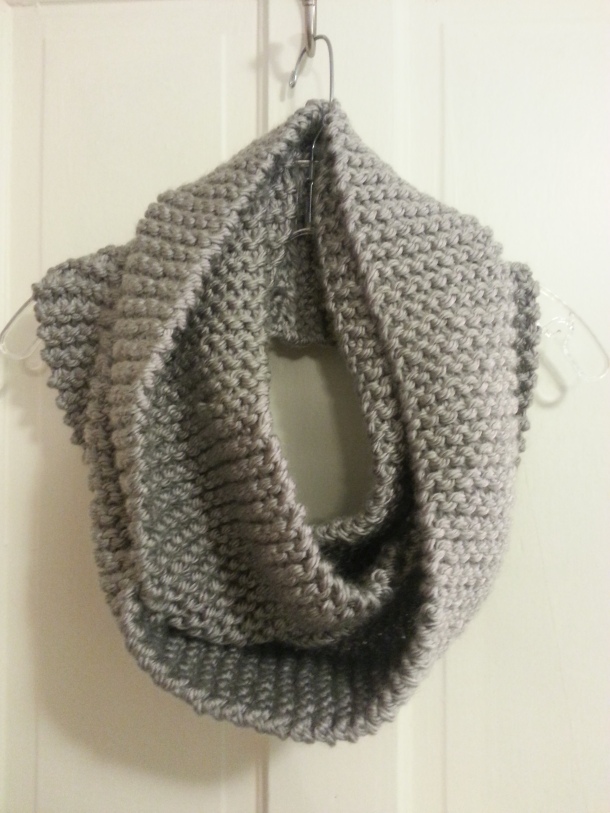
I also finally gave my best friend her Christmas/Birthday present which means I can post about this beautiful infinity scarf I made. I’m so jealous – why is it that I can make adorable things for other people, but not for myself? I just don’t understand. But it turned out beautifully & she loved it, & that’s what matters. :]

CowlLong


CowlDoubled


In other news, I went to a grad school interview in February & got accepted! The funny thing is that this place was at the very bottom of my list when I first applied, but a lot can change a. after you’ve gotten lots of rejections & b. after you visit & fall in love. I really loved it there – the area, the program, & the people – & am fairly certain I’m going to commit to attending soon.

Oregon State Logo


Beavers


I also got waitlisted at the University of Wisconsin-Madison, which basically means they liked me & I was qualified, but that they liked others more & wanted to offer their open spots to them first. My being accepted or rejected hangs on how many of the people they originally accepted choose to accept the offer.

US-Madison Logo


Either way, the wait is finally over. All the work & lack of sleep & lack of crafting & anxiety was worth it. I’m going to grad school! YAY!


I hope Spring has come early where you are as it seems to have here in the Pacific Northwest. It’s beautiful & sunny out today, even tho it’s still only 40 degrees out.

Happy Crafting!


One Year

Posted on

Last week sometime marked the one year anniversary of my having this blog. It’s hard to believe I’ve already had it so long and I doesn’t seem like I accomplished much – but according to my “Crafting Resolutions”, I actually did a lot of what I had hoped!

These were my resolutions for 2012:

1. Buy circular knitting needles & learn how to use them I actually don’t think I’ve done a post on this, but I did purchase some circular knitting needles & start a project with them!

2. Practice hand sewing

3. Buy a sewing machine, practice using it My beautiful Singer 160.

4. Sew something from a pattern I sewed my first item in this post.

5. Make a sweater

6. Complete the two blankets I have started crocheting

7. Write knitting/crocheting patterns  I made things with my own patterns here & here.

8. Start a shop on Etsy My Etsy.

9. Knit & crochet for myself  These last two are pretty self explanatory.

10. Always enjoy what I’m doing

So it looks like I reached most of my goals. I knew the sweater was a long shot [I’m an instant gratification kind of crafter], & I’ve given up entirely on one of the blankets, so that was never going to crossed off the list – & hand sewing… Yikes. That is why I bought a sewing machine.

Overall it was a good year of crafting. I have yet to make an actual Etsy sale even though I opened it in June, but I know that it’s my fault. I’ve been really busy and haven’t been very vigilant about promoting my shop – I’ve also done a lot of crafting for friends & family that has taken away from doing things for my shop. Just a few things I’ll have to work on in 2013.

This year, I want to:

1. Finish lots of existing projects, including:

-My parents granny square blanket [it’s too cute not to finish].

-My dad’s Rams scarf

-My mom’s shrug

2. Refrain from starting new projects without finishing others first!

3. Sew more

4. Make a sale [hopefully more than just one] from my Etsy shop

5. Become a more successful knitter

6. Work with higher quality yarn

7. Complete a project using my circular needles

8. Try new crafts

9. Purchase a physical item from another Etsy seller, not just patterns

10. Say ‘no’ more often

Bring it on 2013!


Some other things that happened in 2012 since the last time I wrote a decent post:

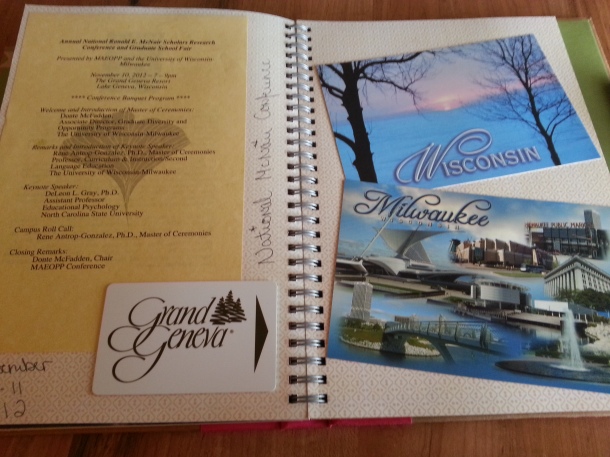
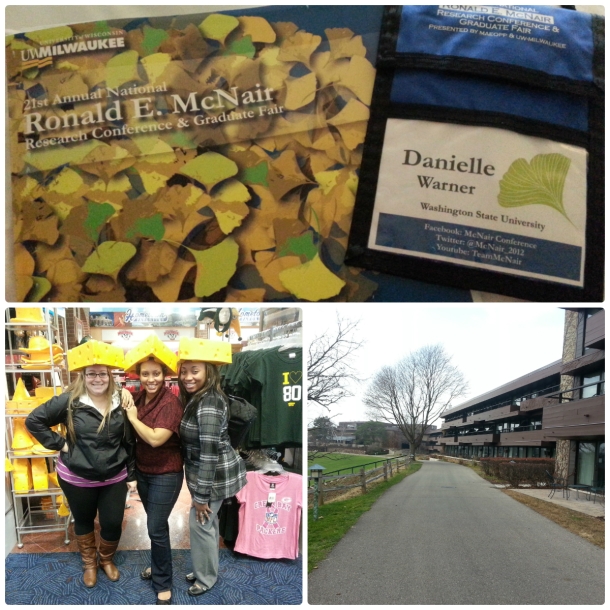
WisconsinI traveled to Wisconsin for a research conference & did an oral presentation of my work.

Hair2

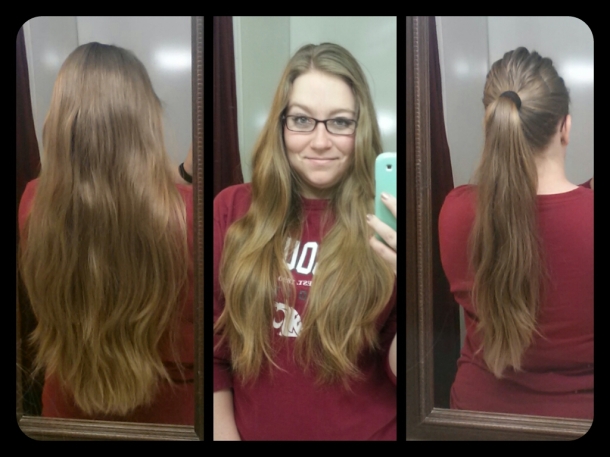
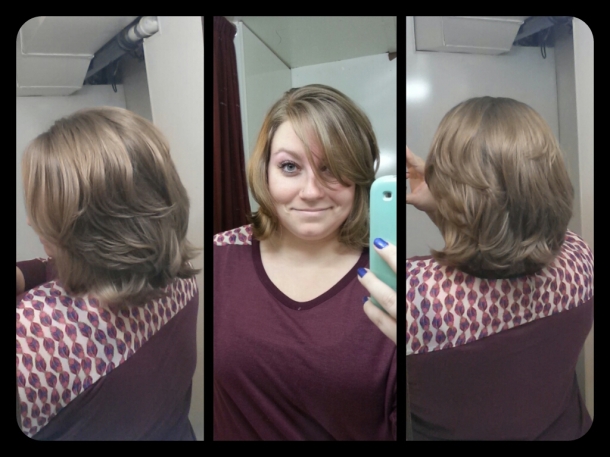
HairNewI donated my hair to Locks of Love for the third time in my life.

Christmas Tree

New YearsI celebrated Christmas & New Years at home with my family


And after a long crafting drought thanks to Grad school applications, I’m finally working on stuff again. I’m currently making headbands in my school colors – several months later than I wanted to [since our football season is now over]. Regardless, they’re cute & I can’t wait to start selling them on Etsy.

Headbands


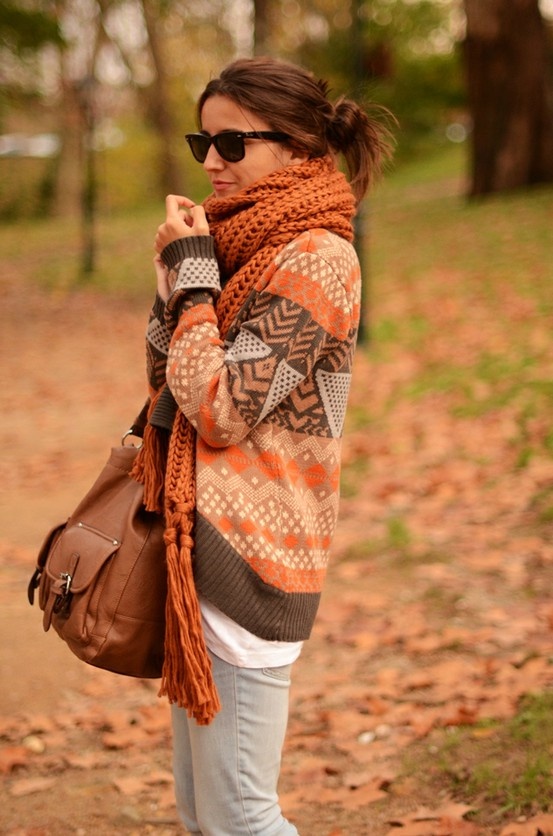
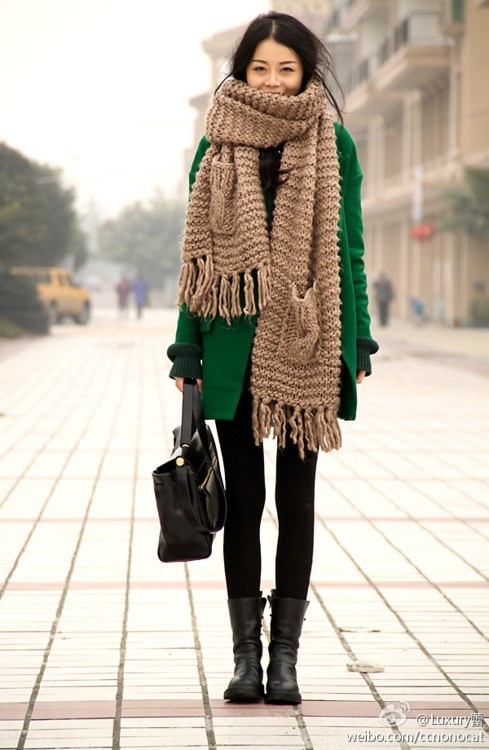
I’m also making myself an oversized scarf in forest green, taking my inspiration from these picture I found on Pinterest:

3bb0e6cb767499e4b73f2c2e31a875fc

3c990f39adb7fa02dfef82370875a62e


I’ll keep you updated on the progress of that one.


Lastly, many thanks to everyone who has stuck with my blog or who has visited my blog in my many months of absence. Stick around – there will be more to come!


Alive, but barely.

Posted on

I just wanted to do a quick post to let anyone following this blog know I am, in fact, alive. This has been the busiest semester of my college career, and I simply haven’t had enough time to be crafty. It makes me really, REALLY sad though, because my blog is getting more hits than ever before. Just know that I do keep an eye here, and if you have any questions, comments, or concerns, you can still leave a comment and I will respond promptly.

Life for me has been especially crazy because I’m currently applying to graduate school. I don’t think many people know just how intensive that process is, so I won’t bore you with the details, but I’m applying to 11 Ph.D. programs & I’m drowning in all the work I have to do between those, school, research, and various other activities. With Christmas coming up, I’m realizing just how busy I really am, because I haven’t been able to make the Christmas presents that I was hoping to. So, it’s looking like most of my family and friends won’t be getting gifts. At least, not until after Christmas, because I will likely have A LOT more free time during Christmas break [if I can get all my grad applications done, as I plan to]!

So, in short, life is absolutely insane right now & I’m really missing my crafty outlets for the stress. Hopefully next semester will be much less crazy, since all my graduate applications will be complete & I will just be waiting to hear back from them.

In the mean time, don’t forget to check out my Etsy shop here. I still have many items for sale that are ready to ship, which means that my busy-ness won’t get in the way of the speed of shipment. You can also like my Facebook page here.

Thanks so much for checking out my blog! Keep checking back – there are bound to be updates sooner or later! xo

New Listings on Etsy!

Posted on

I’ve posted 4 new listings on my Etsy page in the last few days, so check them out, if you will. I would appreciate it very much.

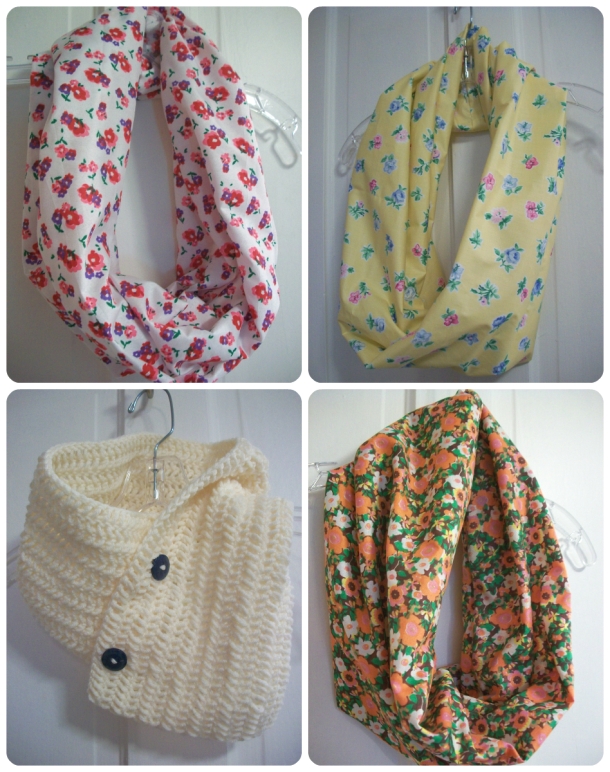
Fall & Winter are right around the corner, & I’m loving making cowls/infinity scarves for that time of year. They’re some of my favorite accessories, so I figure other people probably love them as much as I do.

The bright, floral colors are a great addition to any Fall/Winter wardrobe, since people often get down & depressed on the coldest & darkest days of the year.

Check out the new listings here: http://www.etsy.com/shop/theyarntotell

Dani


DIY Sharpie Mug

Posted on

There’s a trend going around the world of craft blogging right now, especially on websites like Pinterest & CraftGawker, & that is the DIY mug, decorated using only a sharpie, which you set by baking it in the oven at 350 for 30 minutes. I’m a coffee-holic, & can never have enough coffee mugs in my life, so I was determined to give this one a try. So, after going through some trial & error, I wanted to do a sort of “review” on my experiences with it & how well it actually works.

I had seen this project done with both a regular Sharpie & a paint Sharpie, but the first thing I tried was an original Sharpie & mugs I found at the dollar store. There are various how-to’s & reviews of how this went for people out there on the interwebs, but this was one of my favorites because her creations are just so darn cute.

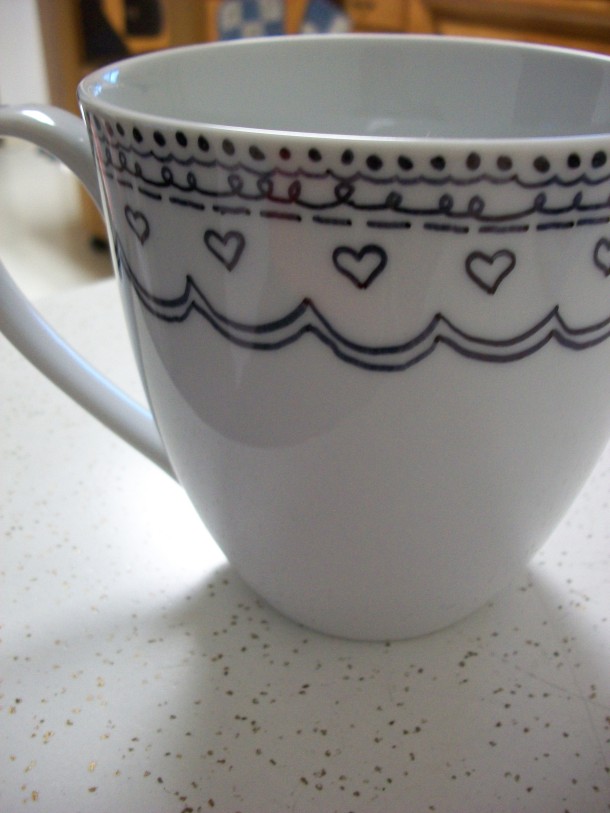
I drew my inspiration for the design from this blogger. I just thought it was so gorgeous & I’m really not that creative usually. It actually turned out pretty good considering that I have no hand-eye coordination or talent when it comes to drawing or creating anything with a paper [or ceramic] & a pen. So I stuck it in the cold oven, turned it on to 350, waited til it got up to temperature before timing it for 30 minutes, & then turned off the oven & let the mug cool in there.

After letting it cool & then leaving it to sit on the counter for a few days beyond that, I had my mom hand-wash it while she was doing dishes. Immediately the ink became cracked & faded. I also tried using it for my coffee & found that where my lips touched became faded very quickly as well. Not so great. I was pretty disappointed.

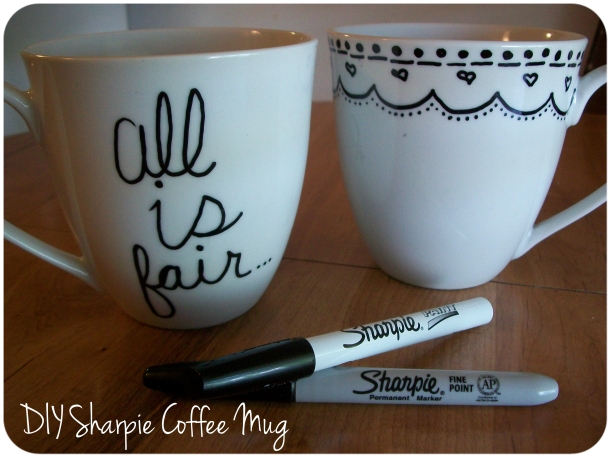
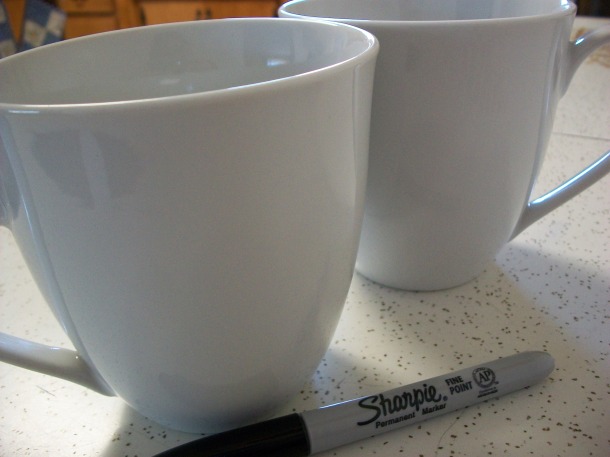
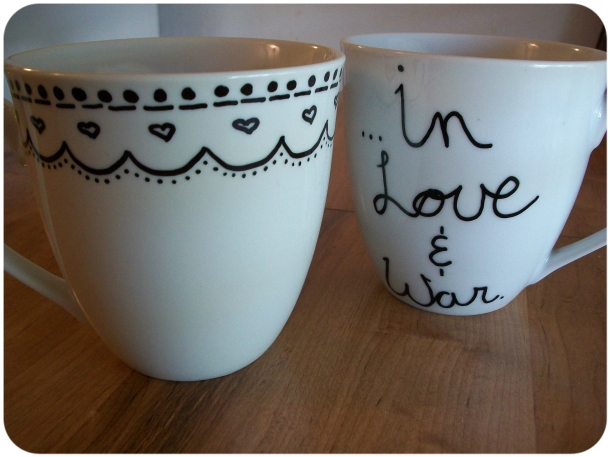
I was determined to make this work somehow, so I decided to try another technique I had found by Wild Olive, which involved using a Sharpie Oil-Based Paint marker instead of a plain Sharpie. I actually used the same mugs, I just used a Mr. Clean bleach eraser to get my previous designs off of them, which wasn’t very hard to do. I also chose to brush rubbing alcohol onto the cleaned surface & let it dry before attempting my new designs, because after doing some research I found that that’s something you do when using actual ceramic paint to make it stick better. I created a similar design to the one I had originally done in regular Sharpie, as well as a text quote that read “All if fair… In love & War”. I put it in the oven for 30 minutes on 350, & as far as I can tell, this technique works much, much better. The Paint Sharpie is made to be used on things like this [it even says so on the package] & it’s really obvious. Not only is the design more opaque, but it looks and feels a lot more permanent & professional. I created mine a few weeks ago while at home with my family, & just recently used the text one for my coffee. I had no issues hand washing it the first time around, but only time will tell.

Overall, I would tell you to not even waste your time trying to use a plain Sharpie on a mug or other piece of dinnerware. If you’re truly interested in creating a personalized work of art that has the potential to be used and stand the test of time, spend a little bit of extra money on a Sharpie Paint pen, or other similar pen. It works MUCH MUCH better! 

After my failed experience with the original Sharpie, I got super interested & almost obsessed with finding something that would work & be mostly permanent on ceramics. What I really wanted to find, but had hardly any luck with, was the Porcelaine paint that I have heard such good things about. I found a little bit at Michaels, but it was all on clearance, which means mostly cleared out, & they didn’t seem to have any more of it. BUT, on that note, they had other ceramic paint [Delta PermEnamel] on crazy clearance [like $.79 a bottle] & I went a little crazy & bought TONS of it. I also got a few starter kits that came with surface conditioner [basically rubbing alcohol, which is where I learned that trick I mentioned earlier], a bunch of small pots of color, & glaze. It was air dry, so you didn’t have to bake it in the oven, but you have to let it dry for 21 days before use. So I made some fun mugs with that paint, & hope to create more & possibly sell them on my Etsy.

I hope this post was helpful for anyone considering trying out the DIY Sharpie mug idea, or anyone interested in getting into ceramic painting! It’s so much fun & not a super expensive hobby to take up. I really enjoyed learning something new, & I hope you give it a try as well!

Dani

PS: Please check out my latest post on this subject here.

DIY Decoupaging a Styrofoam Head

Posted on

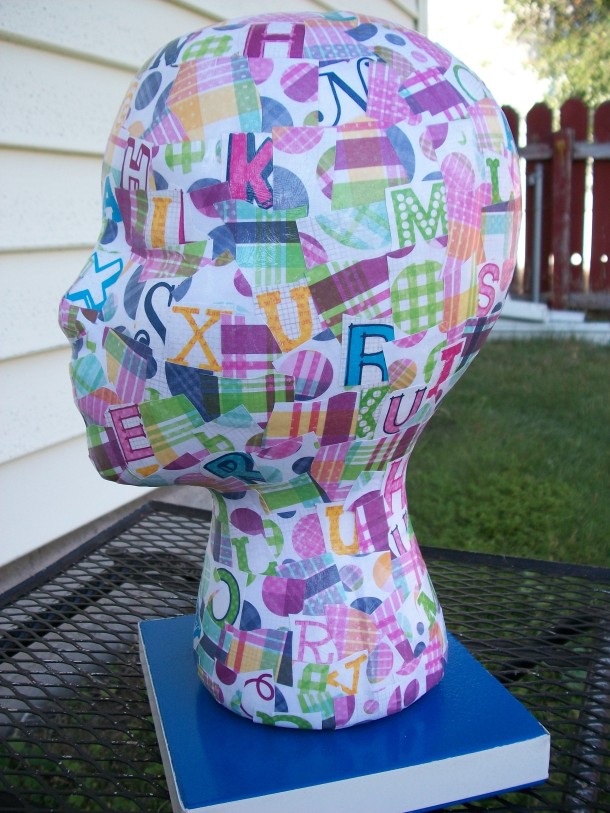
I’ve been home on vacation from college for a little over a week now, & I’ve been spending a lot of that time doing all sorts of crafty projects. The first one I decided to undertake was decoupaging my ugly styrofoam head. I’m not sure why it took me so long to realize I could solve the problem of it’s ugliness with a little Mod Podge & paper, but once I got the idea in my head I immediately did a little shopping for scrapbook paper. I got 3 different patterns in similar colors – a plaid, a polkadot, & one with various letters all over it. I chose to cut the pieces up using scissors [because I wanted to cut out the letters individually], but you could just as well rip up the pieces for a less perfect look.


Decoupaging is fairly simple, which is why I love it so much. I actually can’t believe I haven’t done more of it in the past – it’s that easy & gives such great results! I poured my mod podge into a small container & used the foam brush to spread a little of it onto the foam head. I did one piece of paper at a time, layering it alternately between the three designs, & then spreading a little more mod podge on top of it. I used my finger to smooth it out & keep it from getting gloppy. Because of my perfectionism though, this project was slow moving & took me a few days, but if you’re determined [& not as picky] you could absolutely complete it in a matter of hours.

The face is the hardest part because you need to have smaller pieces since the larger ones wrinkle & get ugly easily, so I started there, working my way from the seam on top of the head down the front. After completing that, the back of the head is a piece of cake. It gets difficult again around the neck & the base. You want to continue decoupaging around the bottom a little  so that it looks smooth & finished. I also tried to make sure my letters were going the same direction throughout.

I thought I had more pictures of the process but I guess not. It’s pretty straight forward though, & if you have questions just leave a comment & I’ll do my best to help. You can also do a Google search if you’re impatient, as there are lots of similar tutorials around the web.


My dad ended up cutting & painting a base for me with part of a broomstick handle that fits inside the head, but if I hadn’t had his help I would have simply purchased a round piece of wood from Michaels [about $4 or $5] & found a way to glue my head onto it. They come unfinished, so you can paint it, varnish it, or leave it as is. A nice base really finishes your styrofoam head & can help it double as a piece of artwork as much as a model for your work.

I hope this helped anyone looking for instructions on decoupaging a mannequin head [or anything else, for that matter]. This is my first semi-tutorial post, so feedback is welcomed.

Thanks for reading & happy crafting!

My First SMASH Book

Posted on

So a while back, I came across this blog after I came across an image from her post about her SMASH books on CraftGawker. I was on the hunt for a different kind of planner for my upcoming school year, & thought that maybe this would be the answer. It wasn’t, but I am so glad that I came across her blog about these amazing books.

Basically a SMASH book is a scrapbook for your everyday life. It’s a journal full of scrapbook pages, as well as various list pages – it has a pocket in the back, & comes with a pen/glue stick. You can buy a variety of accessories for your SMASH book, such as tabs, pockets, washi tape, etc. at Michaels, or online. The blog owner I linked above used hers as a creative organizer, which is a wonderful idea. You can organize ideas from magazines, the internet, & other places. I’m excited about mine because I want to use it as I described it originally – a scrapbook for my everyday life.

They come in a variety of sizes, colors & styles. The ones I have recently come across include a retro-themed book, an eco-friendly book, a wedding-themed book, a baby-themed book, & the pretty pink book, which is the one I purchased for myself. My book arrived at my door less than an hour ago, & I’m already thinking of the possibilities for every book I’ve ever seen.

My first SMASH book will be simple. I’m about to start my final year at my undergraduate university, & it should be an intense & action packed year. I want to use this book to document the journey. This is the year I’ll be applying to & [hopefully] getting accepted to graduate schools, as well as finishing up my research & traveling to conferences to present it. I already have big plans for specific pages in my book – I want to use the “Things to do” page to make a list of what I hope to accomplish this year, & I can check them off when I do! I want to use the pages that look sort of like the old date cards in library books to keep track of the books I complete this year, because I’m an avid reader & I’ve never attempted to keep track of them. Finally, I want to use the “Top Ten” page next summer, after the year has ended, to write in the “Top Ten” events & memories of the year. All the pages in between will hopefully be full of ticket stubs, pictures, & receipts from the fun I have with family & friends.
So that’s my latest  adventure in crafting & creativity. Go find your inner-scrapbooker & buy yourself a SMASH book – I don’t think you’ll regret it. :]